Guide to Engraving & Printing
What follows here is a simple guide to getting started. For a more comprehensive guide please see my book The Art and Craft of Wood Engraving. I also offer tuition and workshops.


Tools and Equipment
You can start with few tools, and I would suggest the following to get going: Medium Spitsticker, Small Round Scorper and Medium Round Scorper and a medium square graver. A medium tint tool would also be good. You will also need:
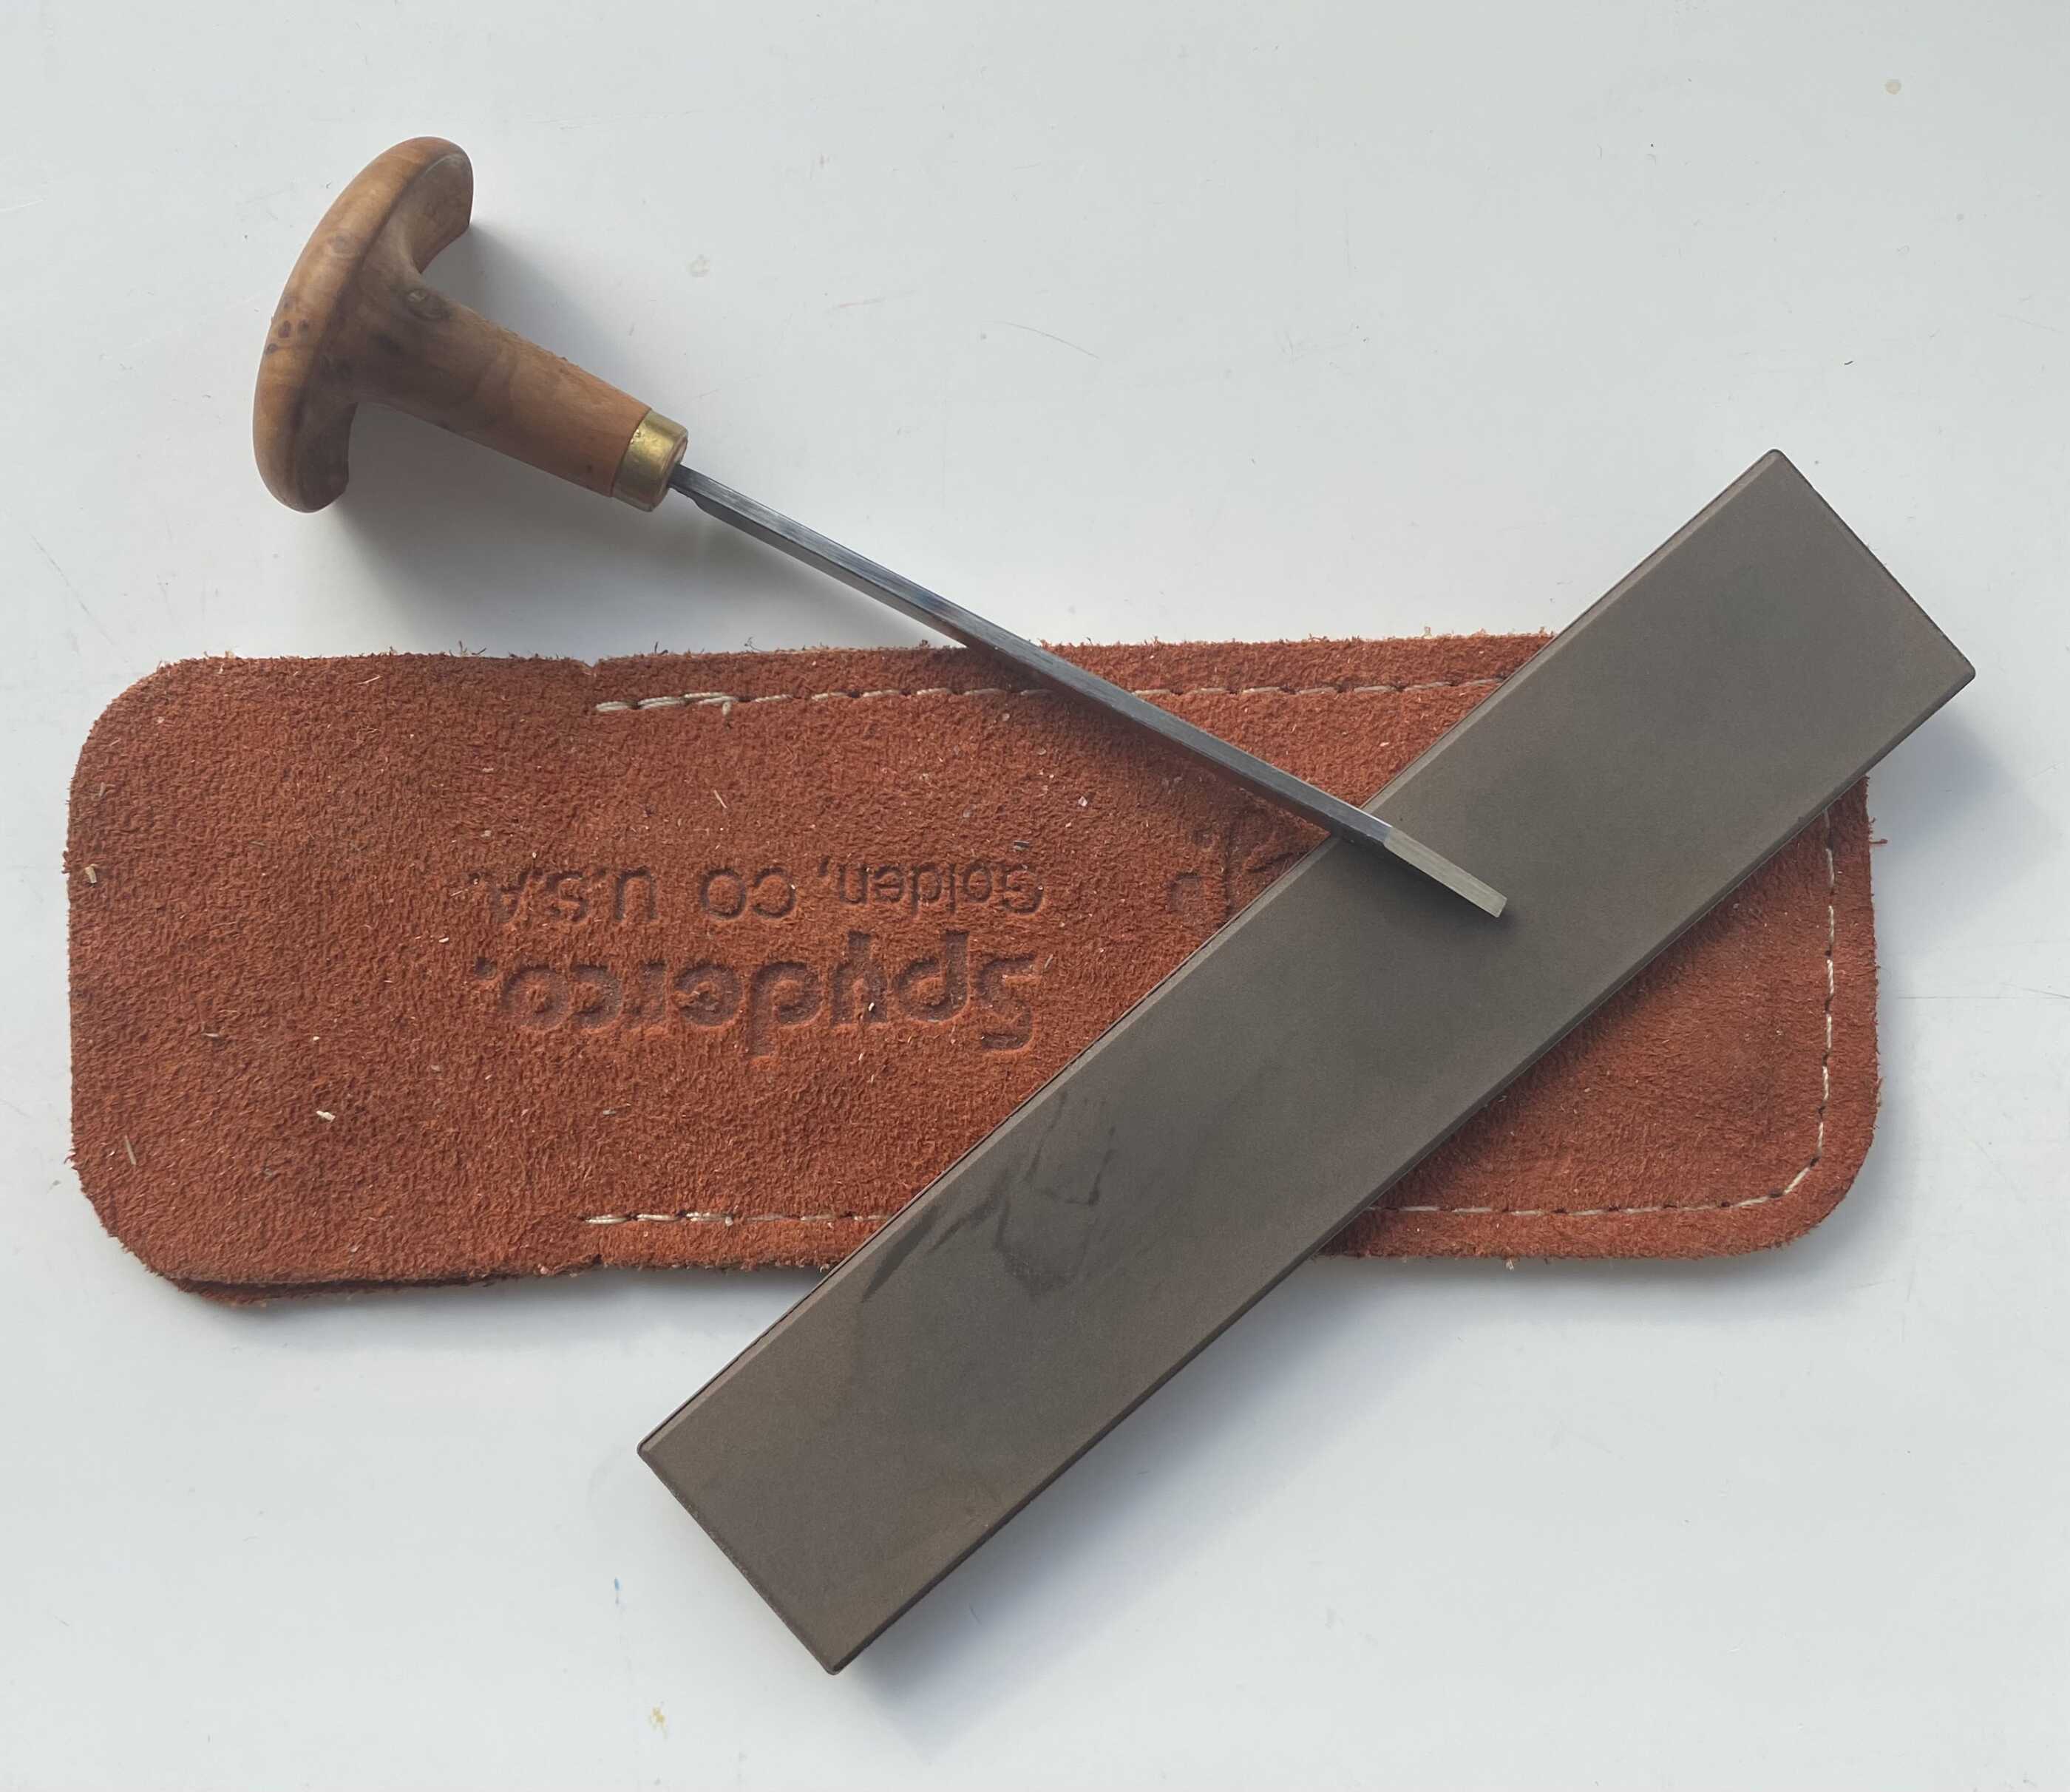
Small fine grade sharpening stone. The very best is a Spyderco Ceramic Pocket Stone, available from Heinie Haynes. Either a medium or fine is good. Get both if your budget allows.
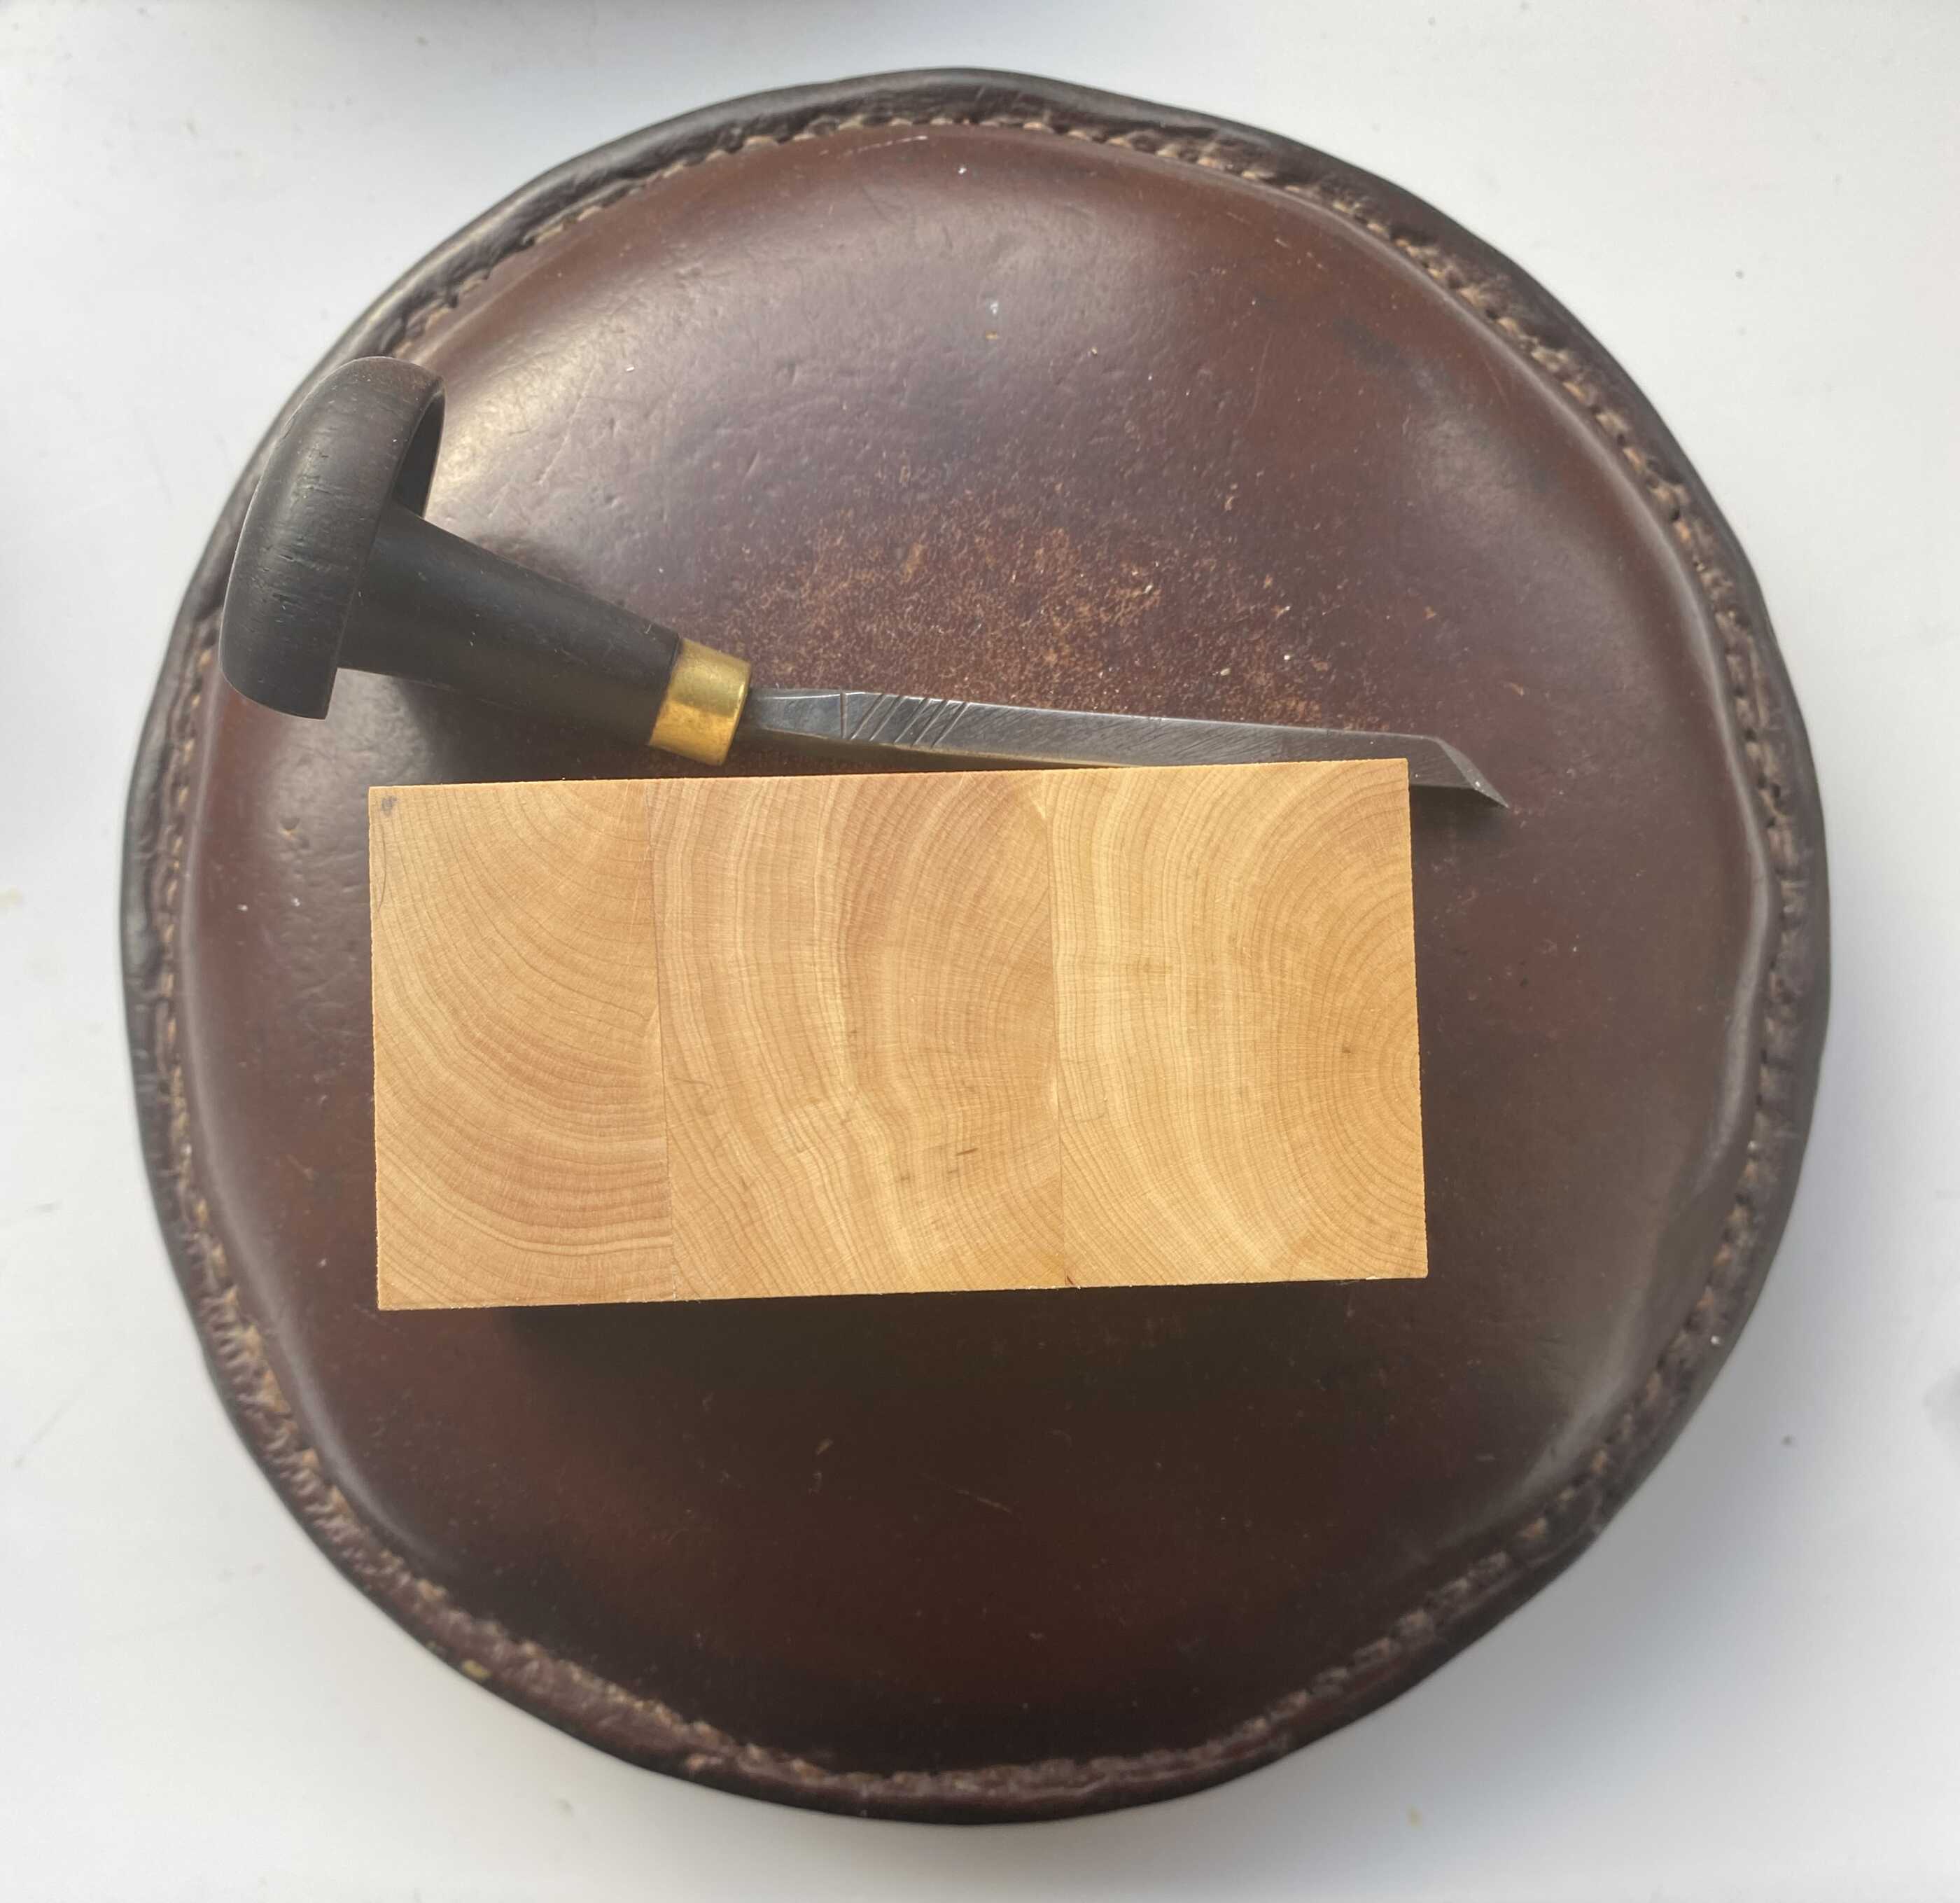
Leather sandbag as a support for manipulating the block when engraving. Northumbria Wood Engraving Tools make the finest sandbags and a link can be found here:
Endgrain wood engraving block. Practice Packs are a good idea when you are starting off.
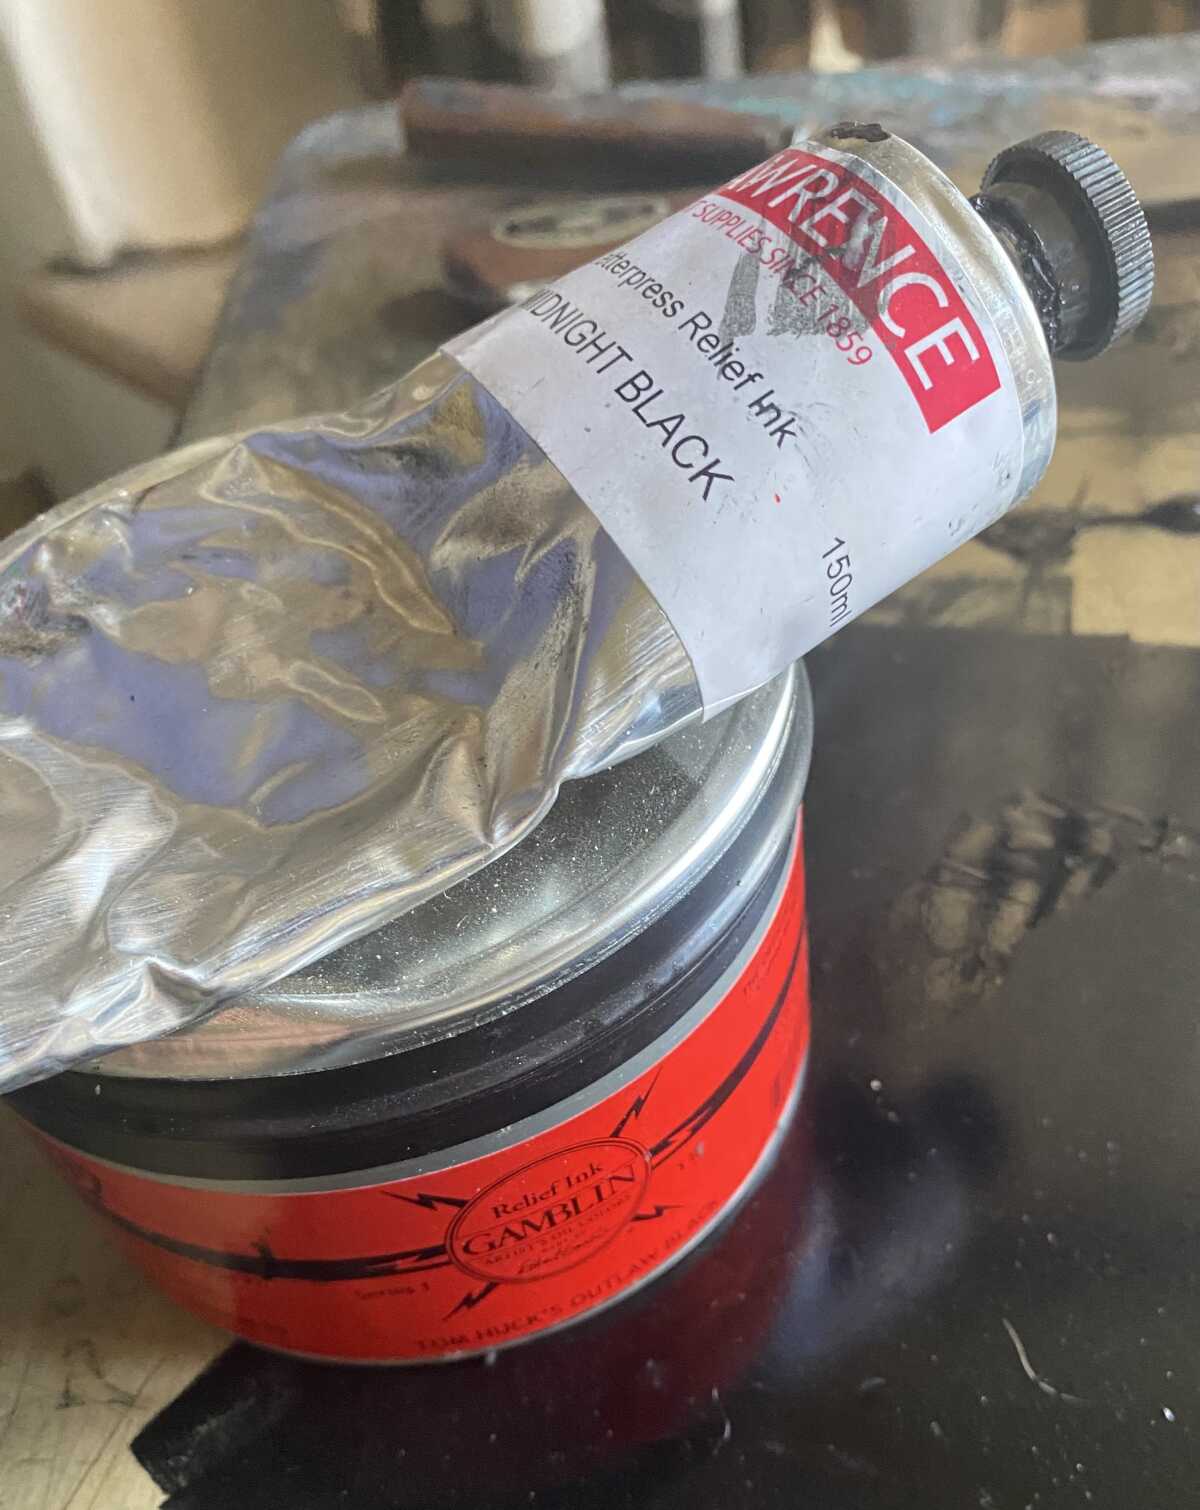
Black oil based relief printing ink. Don’t buy either water based or water washable oil inks, they aren’t stiff enough. Gamblin Outlaw Black is a particularly stiff ink, prefectly suited to wood engraving.
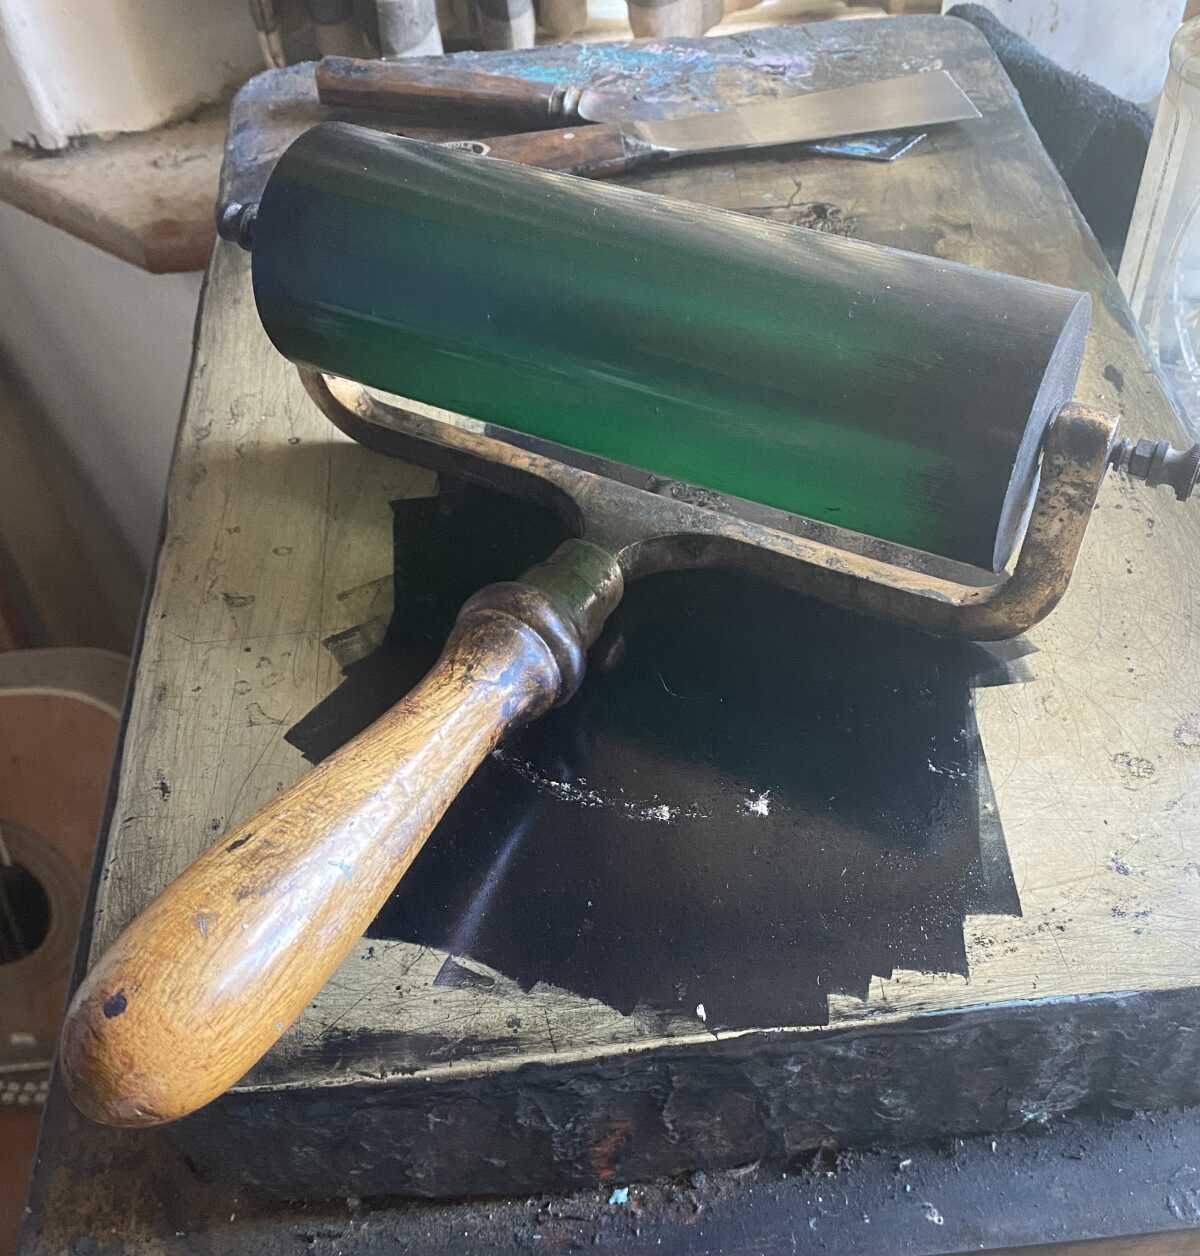
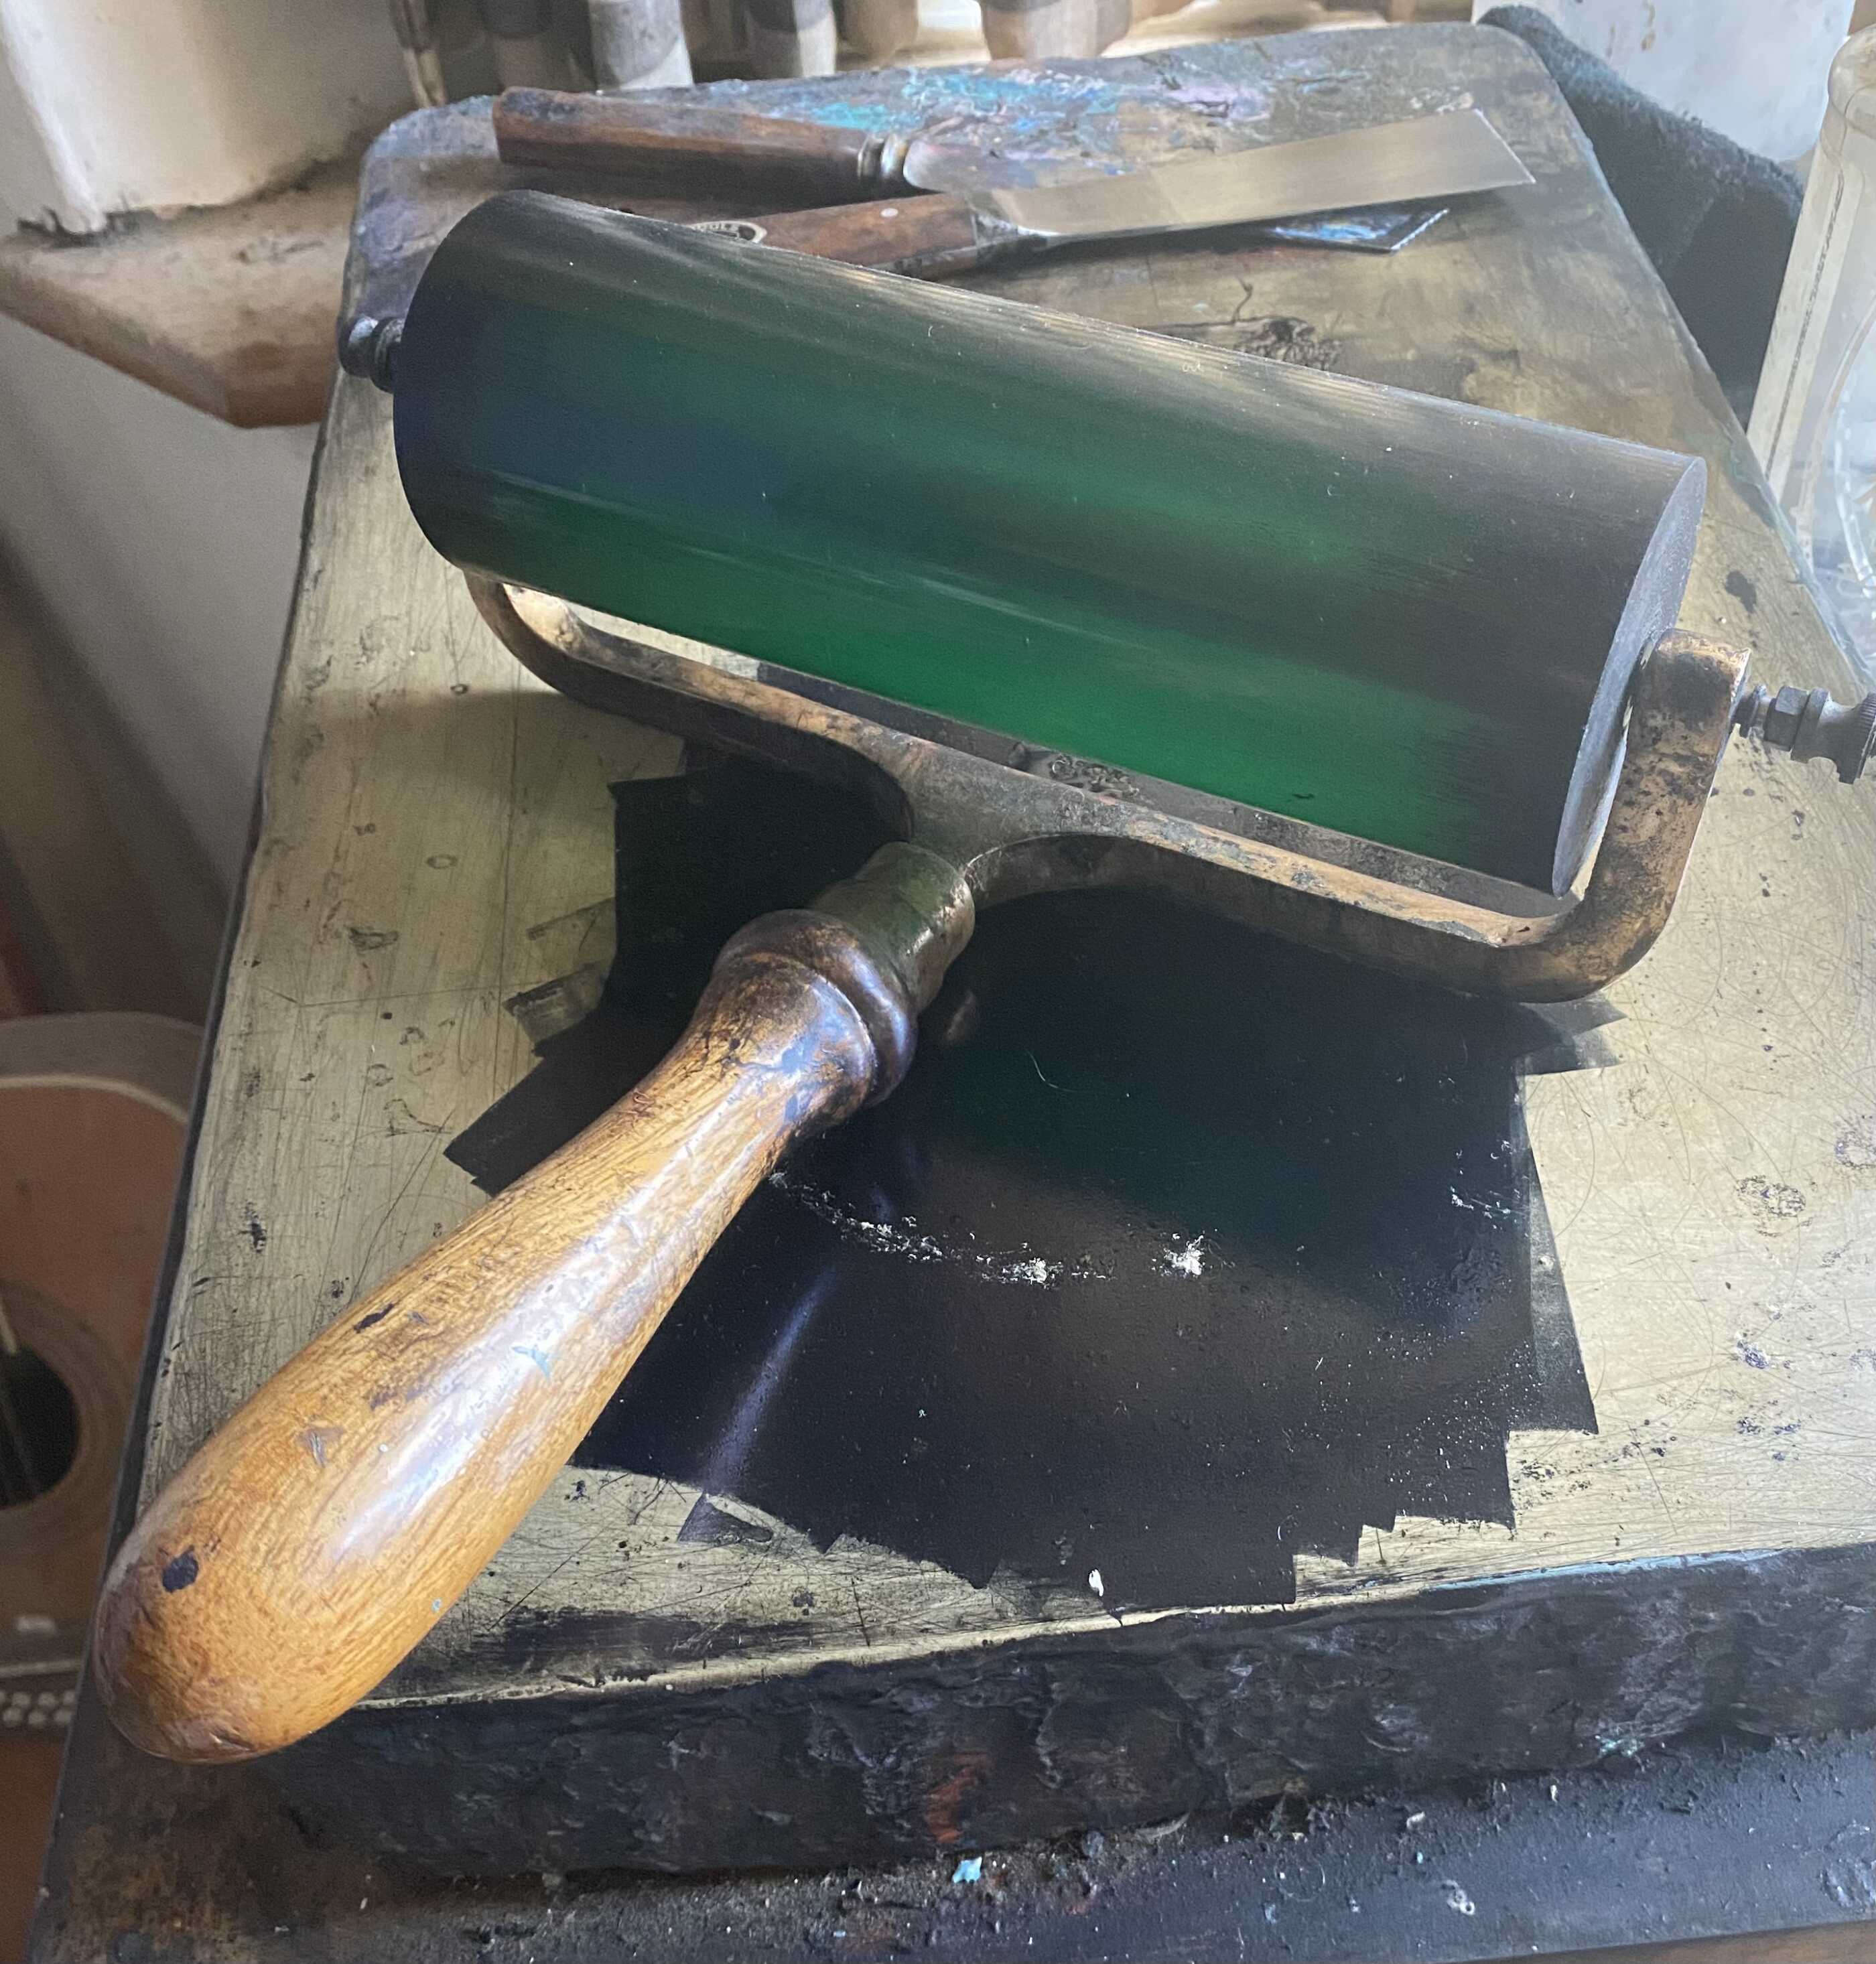
Ink roller. The best are brass framed with synthetic rollers, but a cheaper steel framed rubber roller will suffice to get you started. Make sure that the rubber is not old and hardened.
Burnisher for printing without a press (available here), assuming you don’t have access to a platen type press such as an Albion.
Thin printmaking paper. Japanese tissues are best for burnishing, though it is best to choose one with very a smooth surface (some have a slightly fibrous, hairy surface which make the printing of fine detail and solid blacks difficult). Avoid thicker papers for burnishing.
White spirit or similar for cleaning blocks and roller.

Preparing the Block
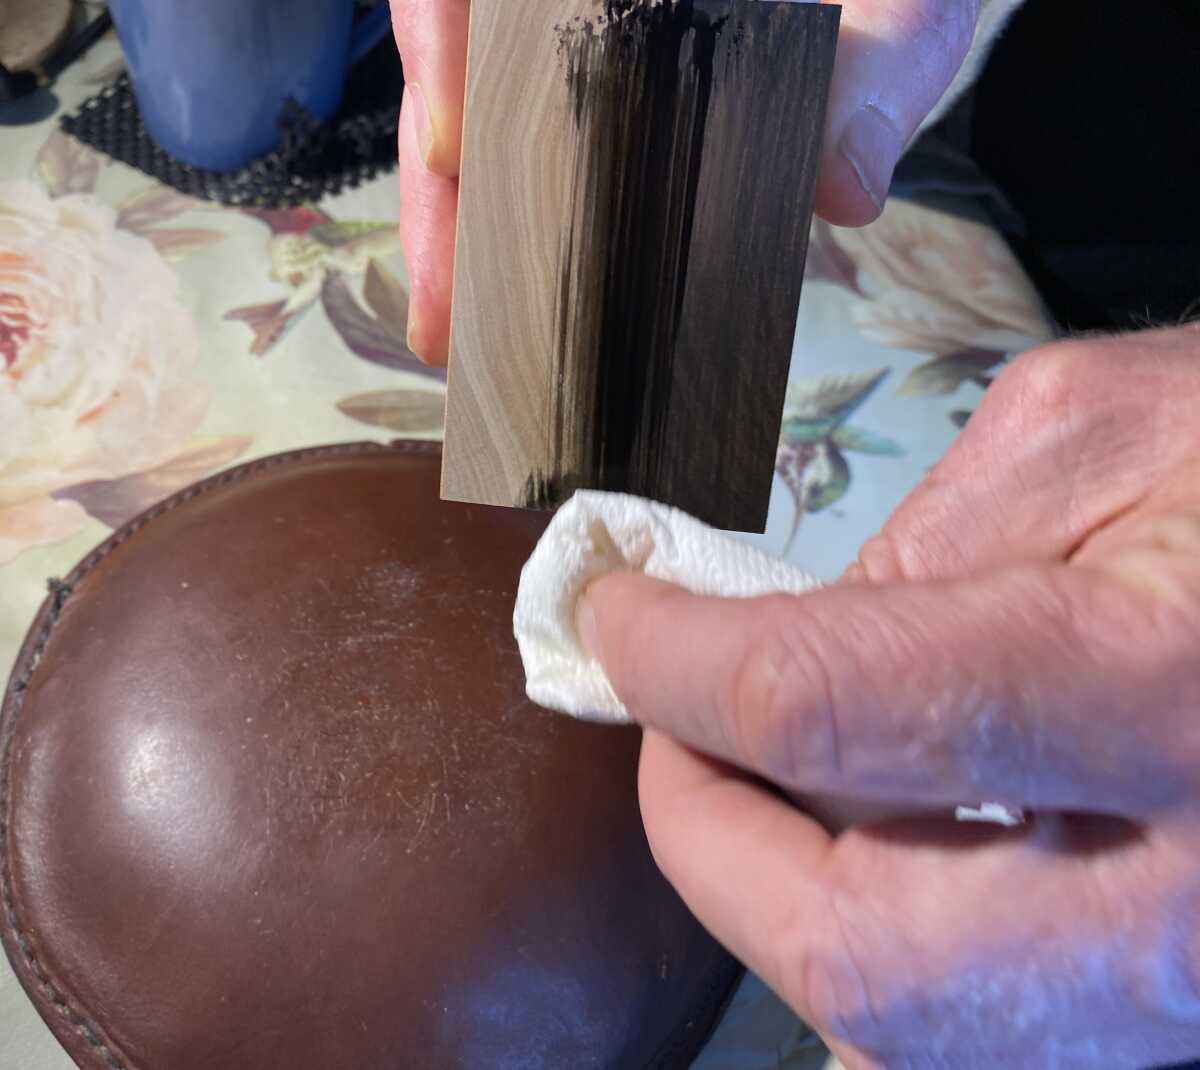
There are many ways to do this, but here I will give you one easy, reliable method. Wipe blue black fountain pen ink over the block with a paper or cloth pad. You want to achieve to achieve an even tone on the block. Take care not to soak the wood or you will open up the endgrain fibres. When dry firmly rub the surface with a paper towel or soft cloth in order to burnish away the slight nap caused by the application of water based ink.
Drawing
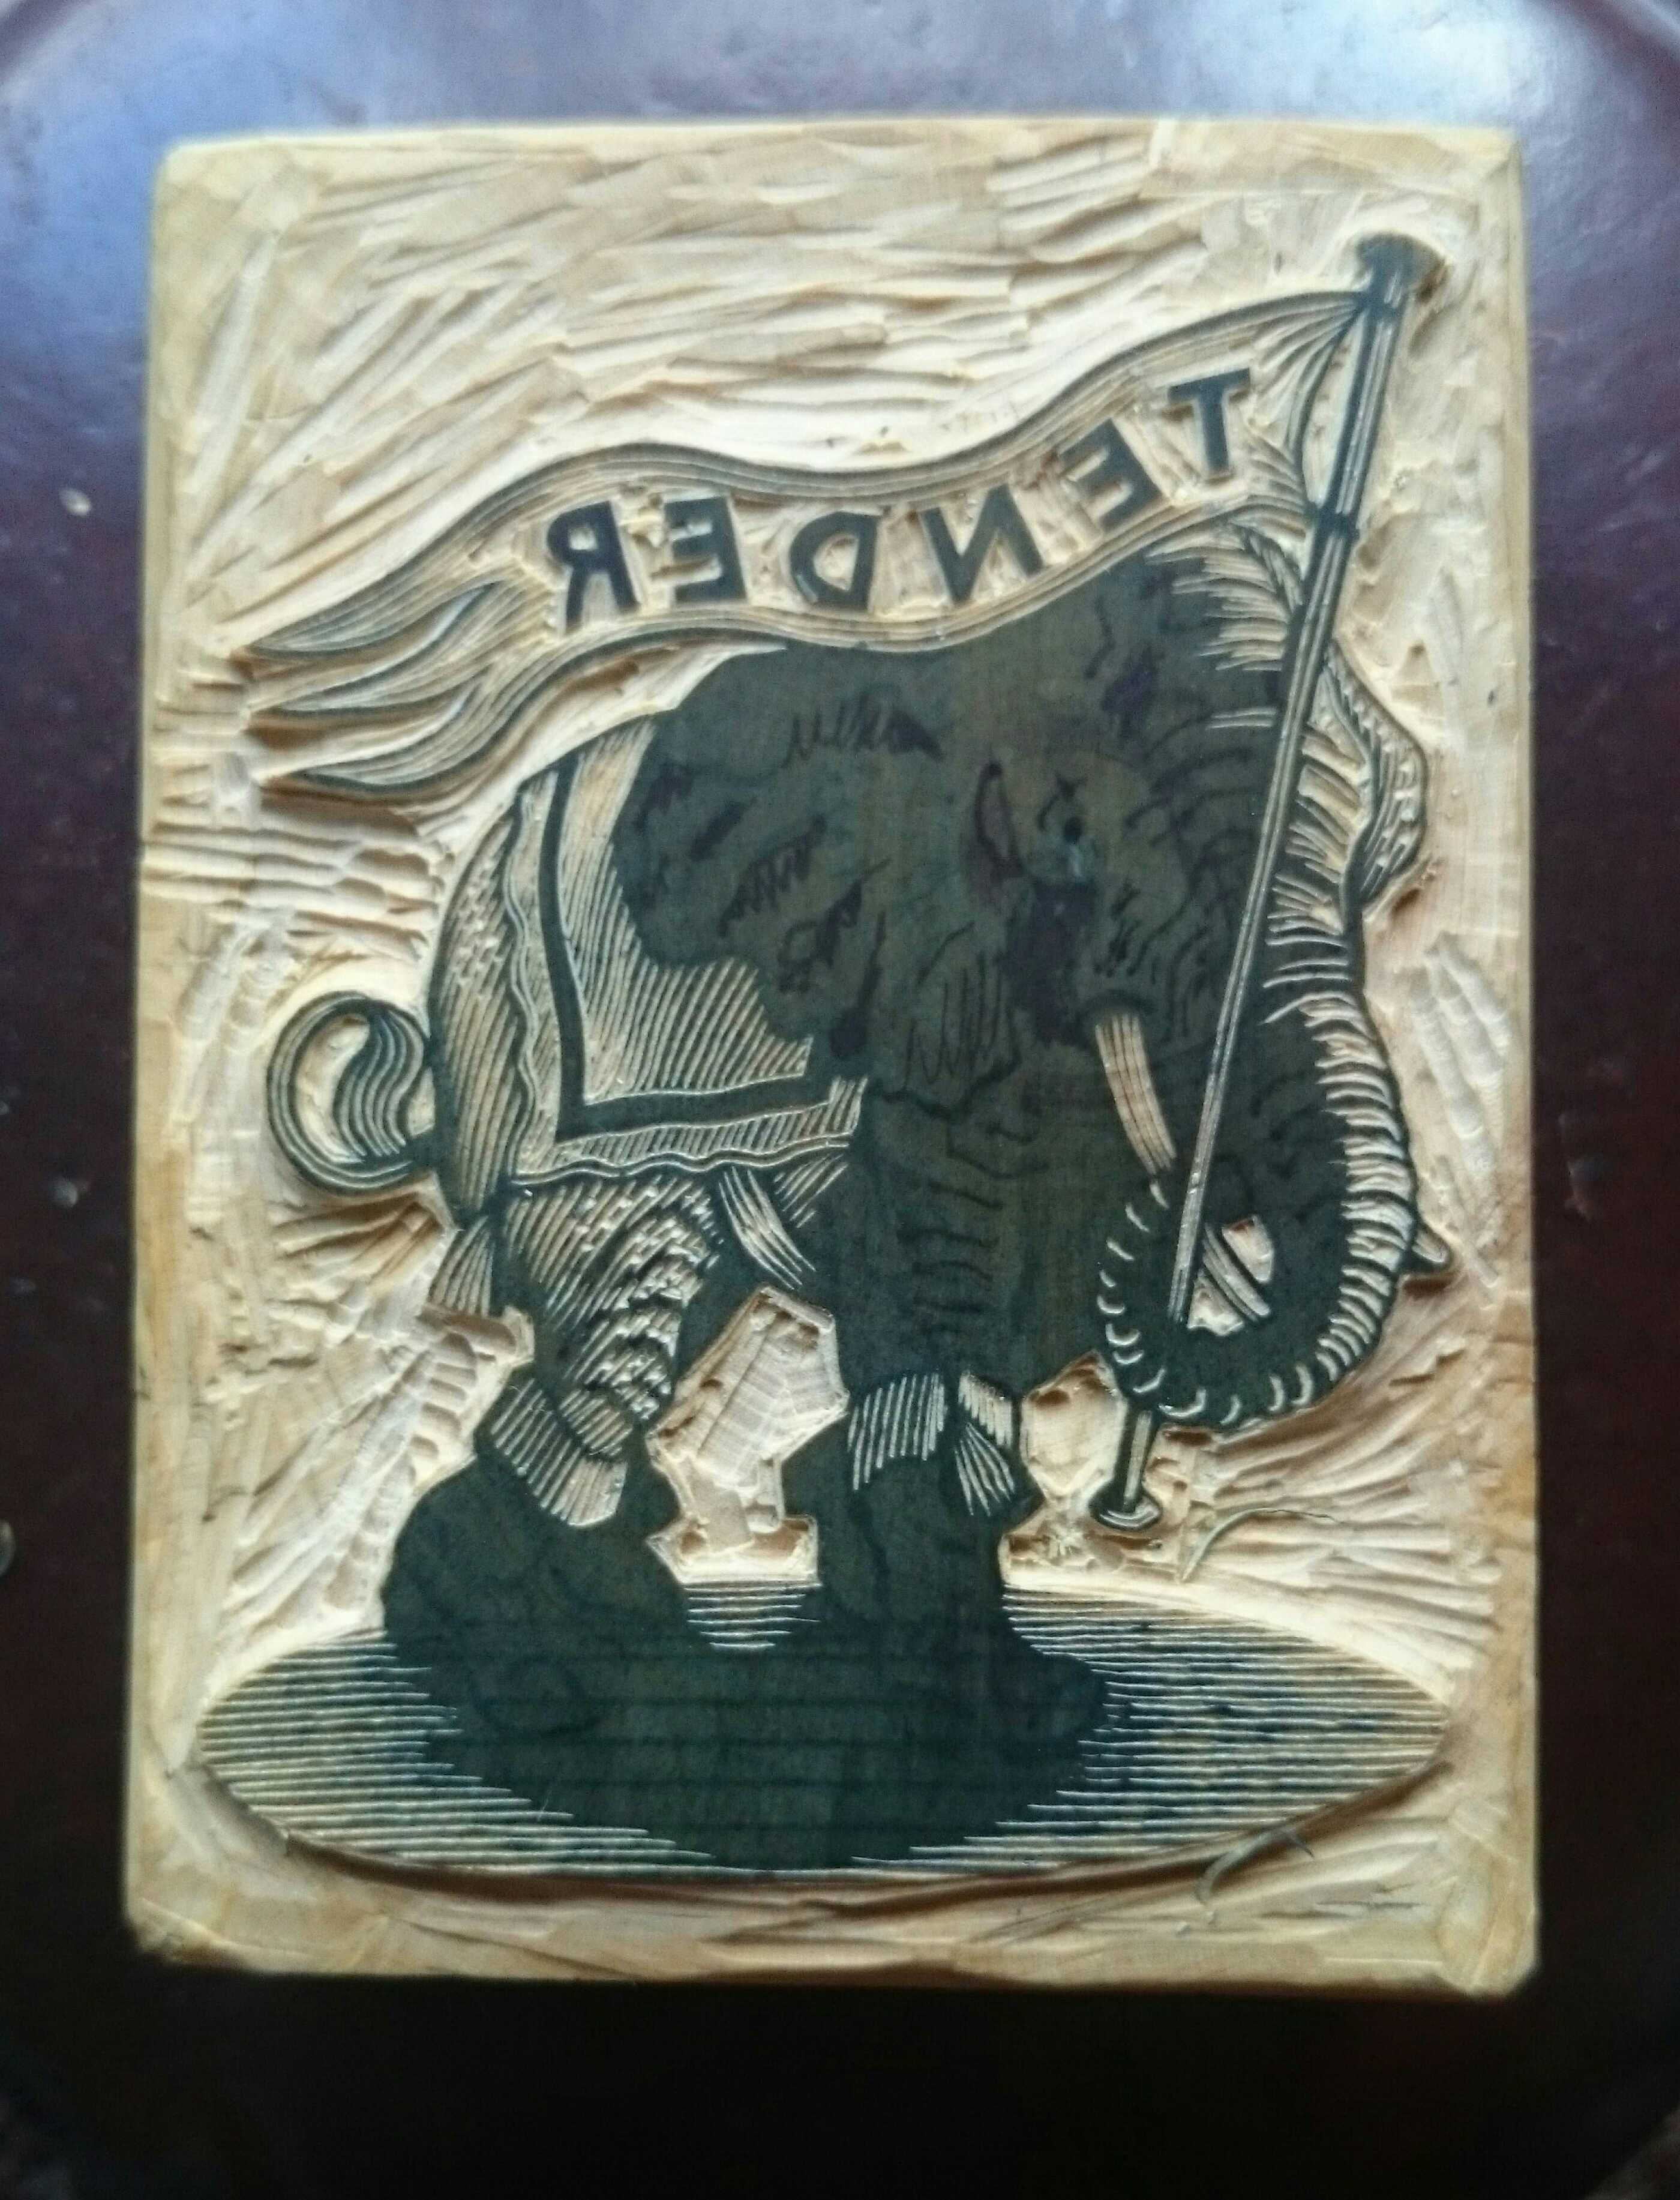
Start with a simple subject and work out matters of form and tonal values well before thinking about transferring this to your block. Engraving on wood is an unforgiving medium and mistakes can not usually be rectified, so ‘think twice, engrave once’. Make your drawing the same size as the block you intend to use then place over it a sheet of layout paper(or similar thin, semi transparent paper) and trace the outlines of the drawing. Then fix onto your block a piece of traditional carbon paper, over which you then fix your outline drawing. Trace the outlines through the carbon paper with a very hard, sharp pencil (4H or harder) and take care not to apply too much pressure in case you press into the wood – the thinner your paper, the less pressure will be required to get a crisp drawing transferred to the wood. Remove both layers of paper and you will have a clear line drawing on your darkened block.

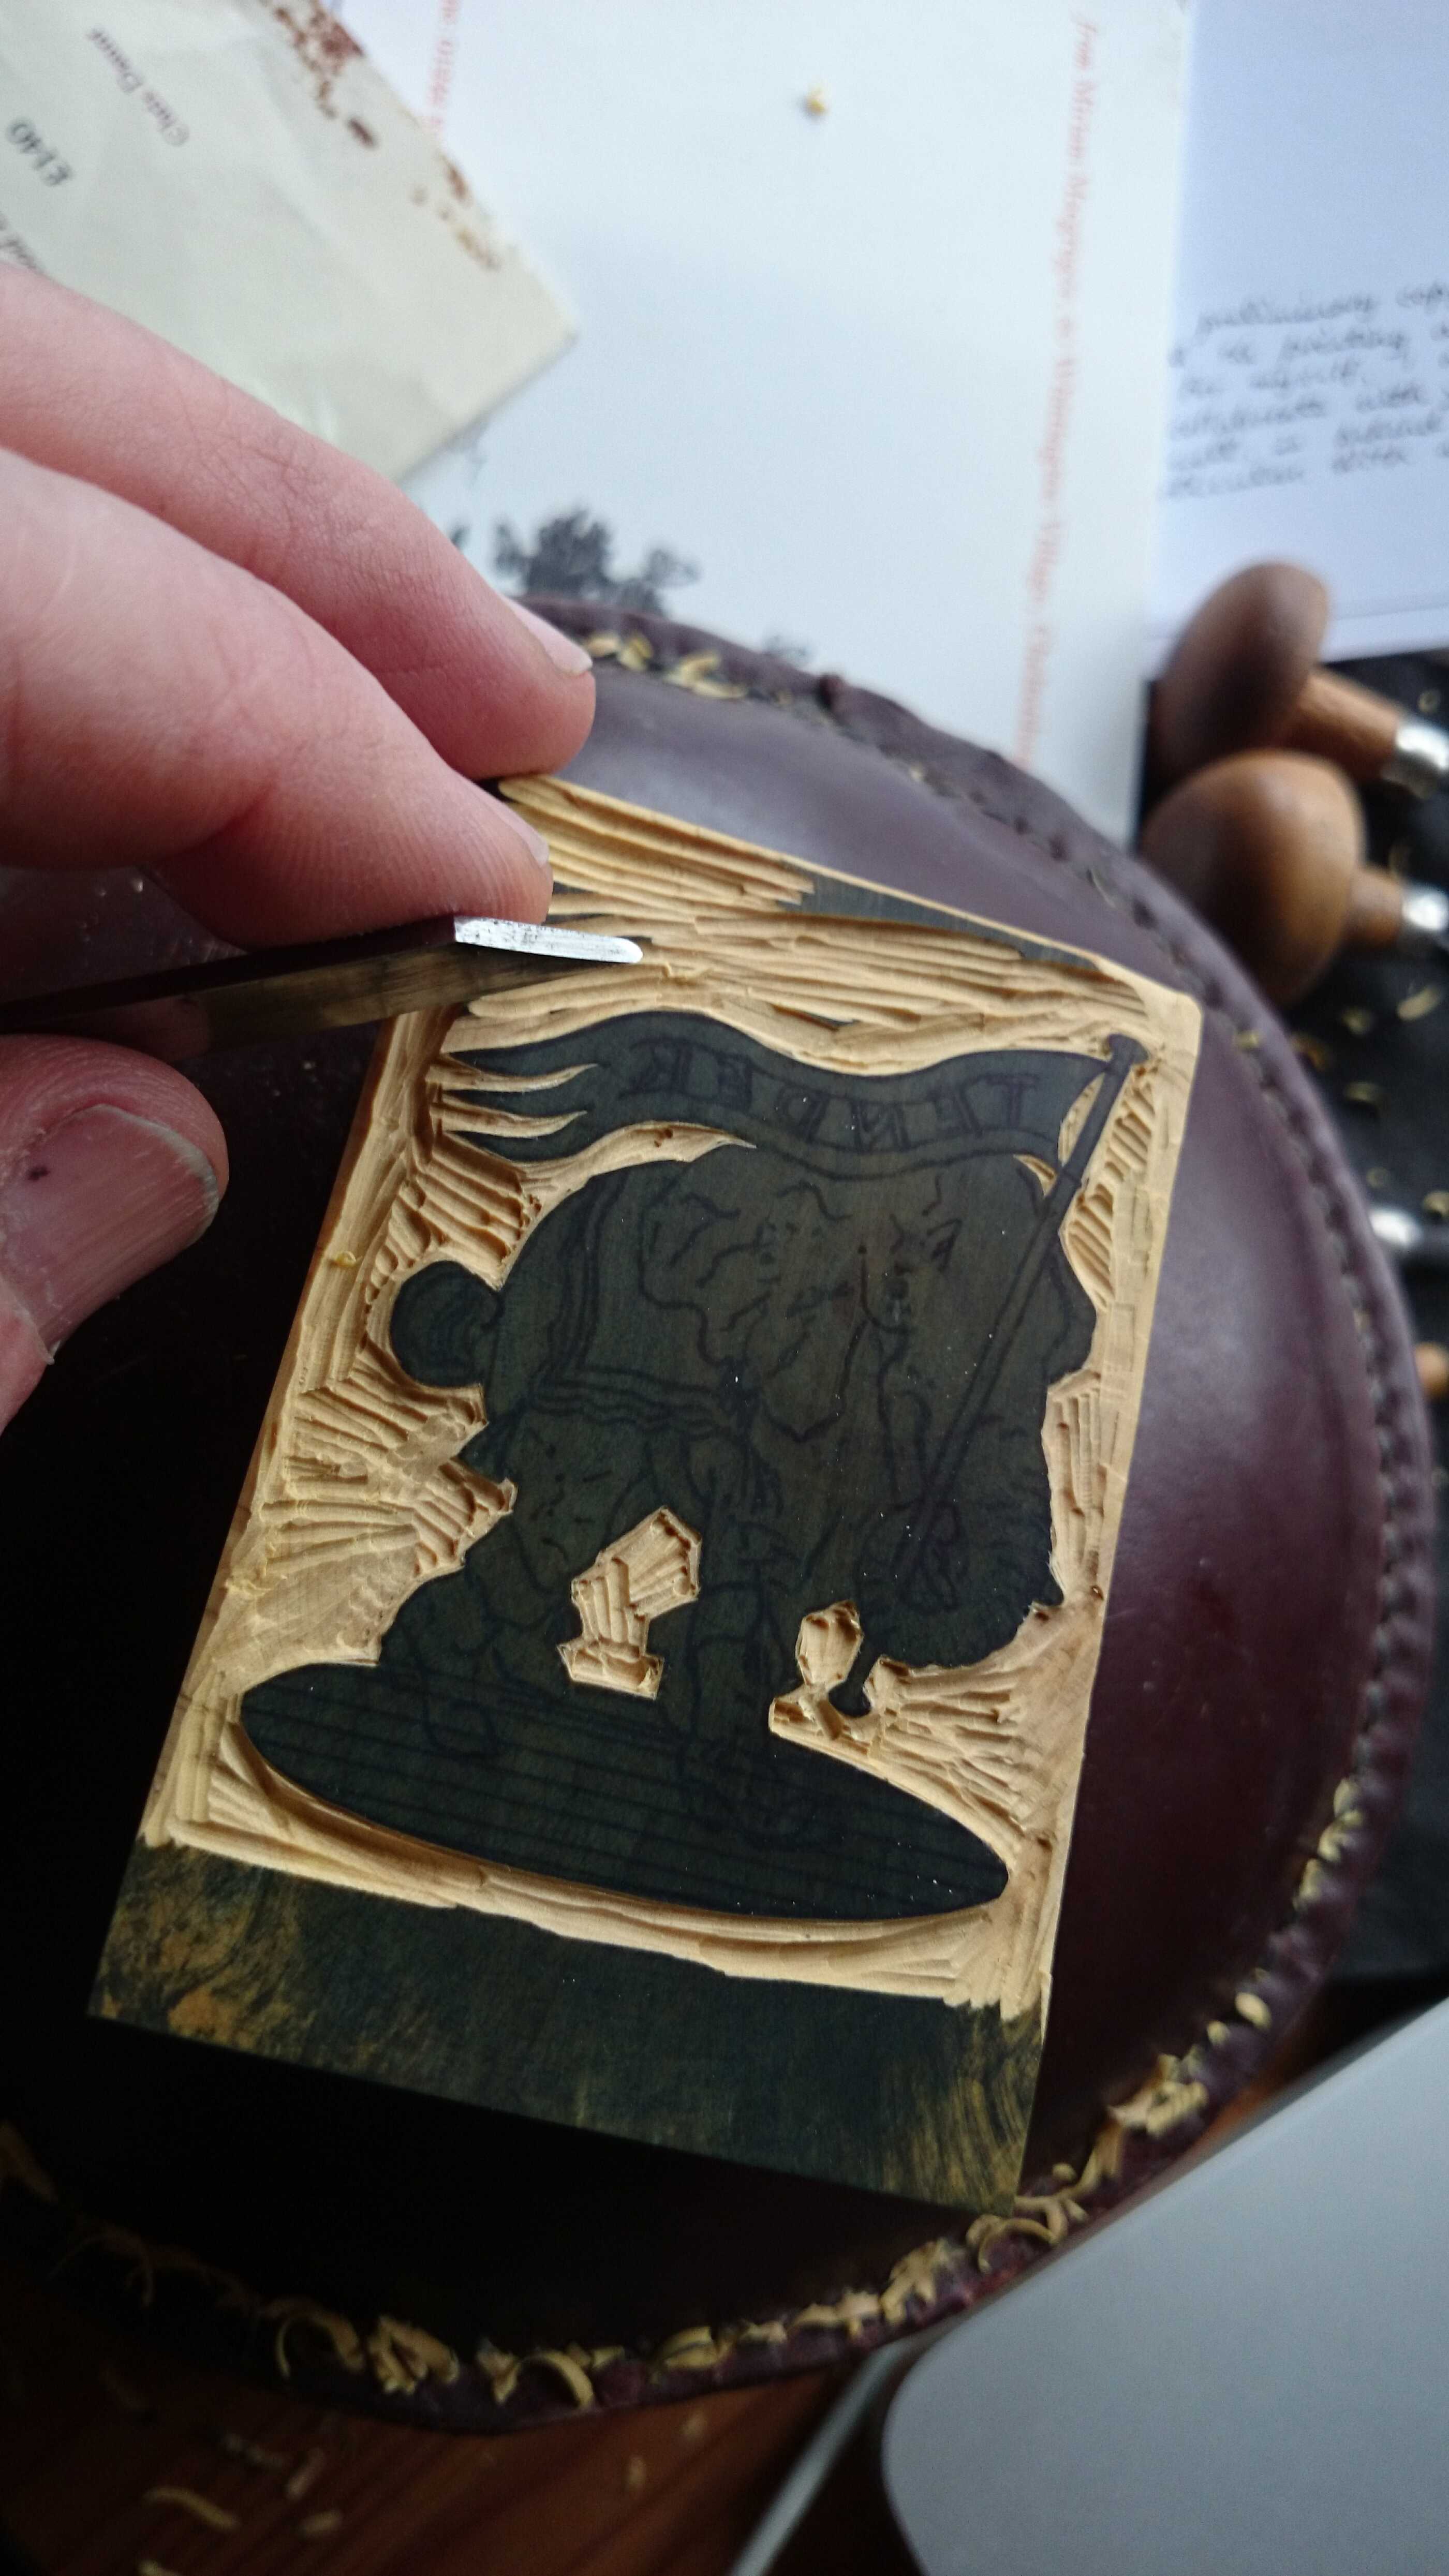
Holding The Tools
The usual way to hold an engraving tool is best learnt by looking at the photograph. Some engravers lead with the forefinger, others with the thumb, but the handle always nestles in the palm with the little finger tucked away in the groove of the handle. Tool length is determined by the amount of steel extending beyond the leading finger. There are no rules for this, but something in the region of half an inch (12mm) is good. Tools are often too long and need to be shortened for good control – see Services page.

Engraving
The most common error with first time engravers is to hold the tool at too steep an angle which results in the tool very quickly embedding in the wood and coming to an abrupt halt. Begin by laying the tool flat on the block and slowly lift and push across the wood until the tool bites and you begin engraving. Certain tools al- low for a swell in line thickness which is controlled by the angle at which the tool is held. Controlling this line variation is a fundamental skill which you will achieve with practice until it becomes as natural as handwriting.
How to identify the tools: This is done by looking the end or cross section of the tool. Some of the names are descriptive, others not. The information below will clarify both the appearance of the tool and its functions.
Spitsticker
Boat shaped cross section, curved sides coming to a point. A general purpose ‘drawing’ tool, good for curved lines and lines that can swell and taper. The very fine sizes are to be avoided (anything smaller than a number 2). If you want only one, then buy a medium.Graver
These come in two types, the square or diamond graver. The cross section here is square and intially this is the version available here. This is an excellent tool for expressive mark making, allowing for the finest of lines that swell dramatically. Mastery of the graver is an essential skill. Not suited to anything but the slightest of curves. The other version is the Lozenge Graver, with a more gradual taper.
Please note that although graver is sometimes the generic name for all engraving tools, it also refers specifi- cally to these tools.Tint Tool
Sometimes neglected, this is the most useful and versatile of all the tools. Excellent for straight lines of even width, it also works well for curves, especially tight curves. For stippling, this is the best tool for producing a correct dot. Strictly speaking not a pointed tool, it allows for stipples that don’t look like jabs. The very fine tint tools are best avoided for two reasons: they are very prone to snapping in the wood due to their delicate tips. They also tend to produce scratchy work that is difficult to print.
Please note that the numbers 50 and 52 Round Scorper (see below), function exactly like a tint tool. The number 4 tint tool, 50 and 52 Scorper therefore consitute what are effectively tint tools.Scorper
The Scorper comes in two types, the round end and square end. As you build up your collection of tools, these are the types you will need in the greatest number.
Round scorpers have a round end, square scorpers a square end. The smaller sizes are multi purpose (like tint tools) and may be used for linear work and, in the case of the round ones, stippling. The larger sizes are best for clearing. In these larger sizes round scorpers will make a deeper cut, and the square scorpers are good for paring away the ridges left by the initial clearing.Chisel Tool
Used for one task only - chamfering or bevelling the edges and corners of a block when clearing goes right to the edge. A one trick pony, but essential for the task.Bullsticker
This tool is a chunkier version of the spitsticker, with an oval or seed shaped profile. It differs only from the spitsticker in having a more bulbous profile, allowing for a line which can produce a dramatic swell. A very expressive tool.
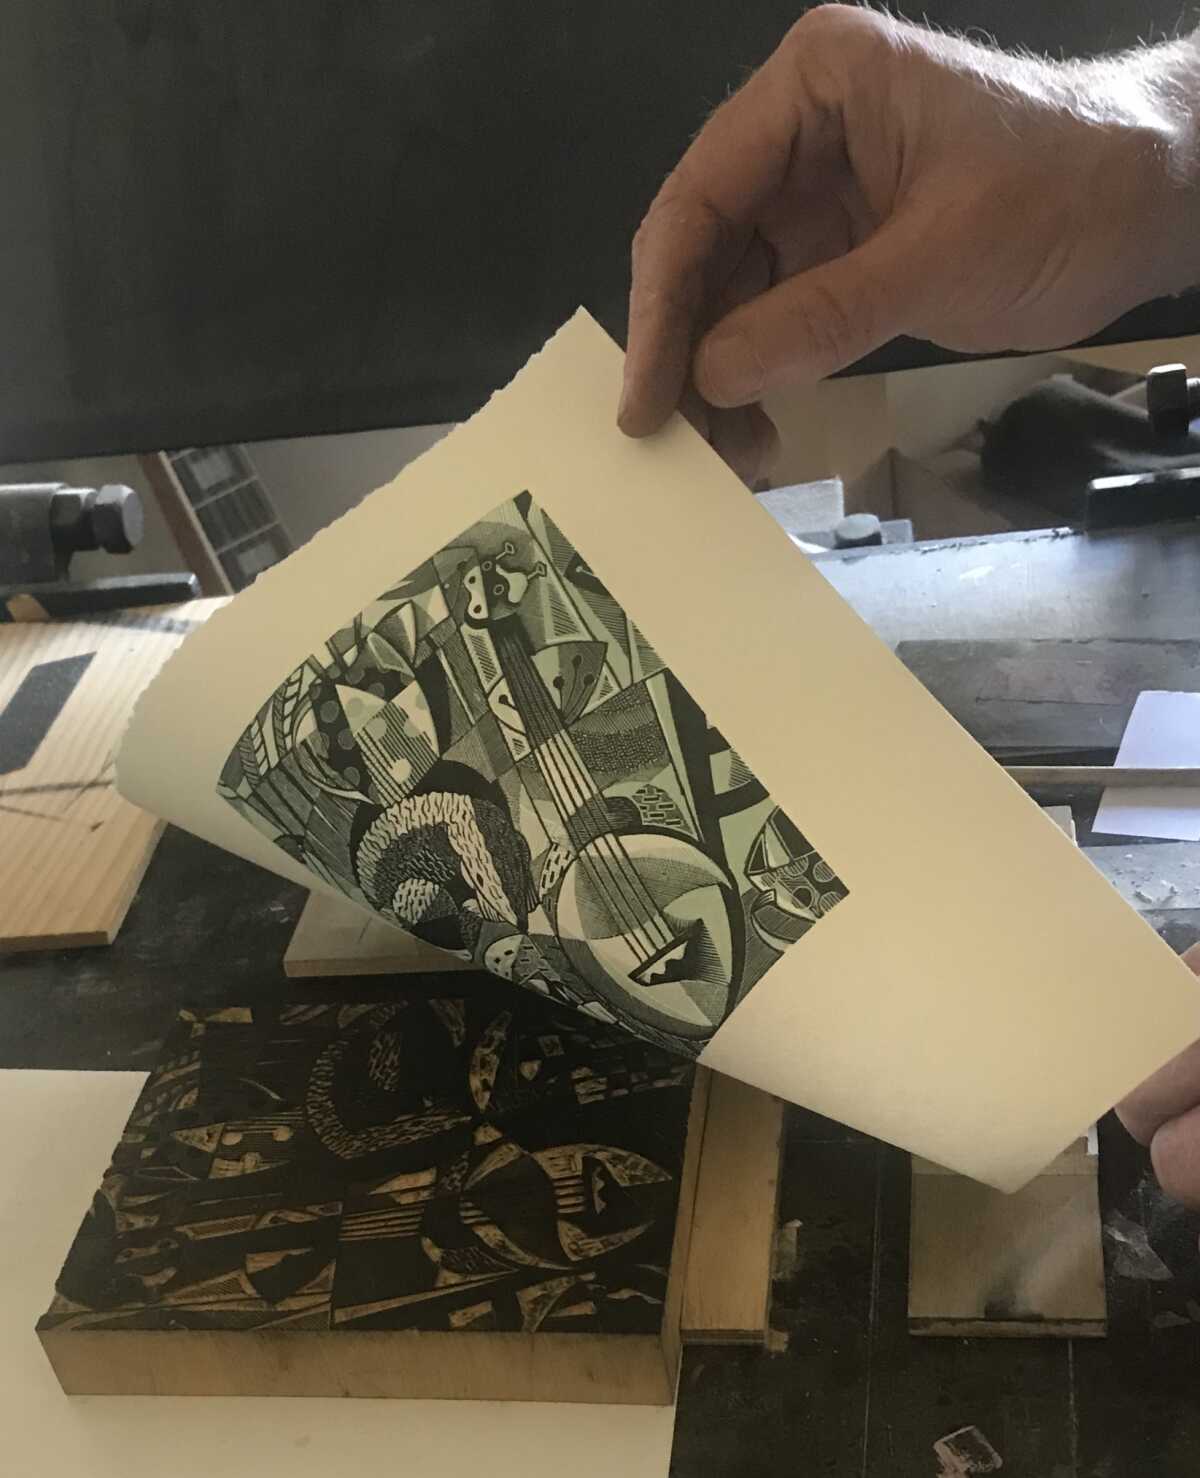

Printing
Beginning engravers will often not have access to an appropriate printing press, so will need to learn the simple, but effective, art of burnishing. The equipment for printing by this method is very modest and the results are very good once you get used to the method.
Squeeze or scoop out a small amount on the inking slab and roll out thinly and evenly until the ink surface resembles fine velvet. Use less than you think you will need, and add more if necessary. Pass the roller across the block with even pressure and hold up to the light to ensure that the entire surface is inked.
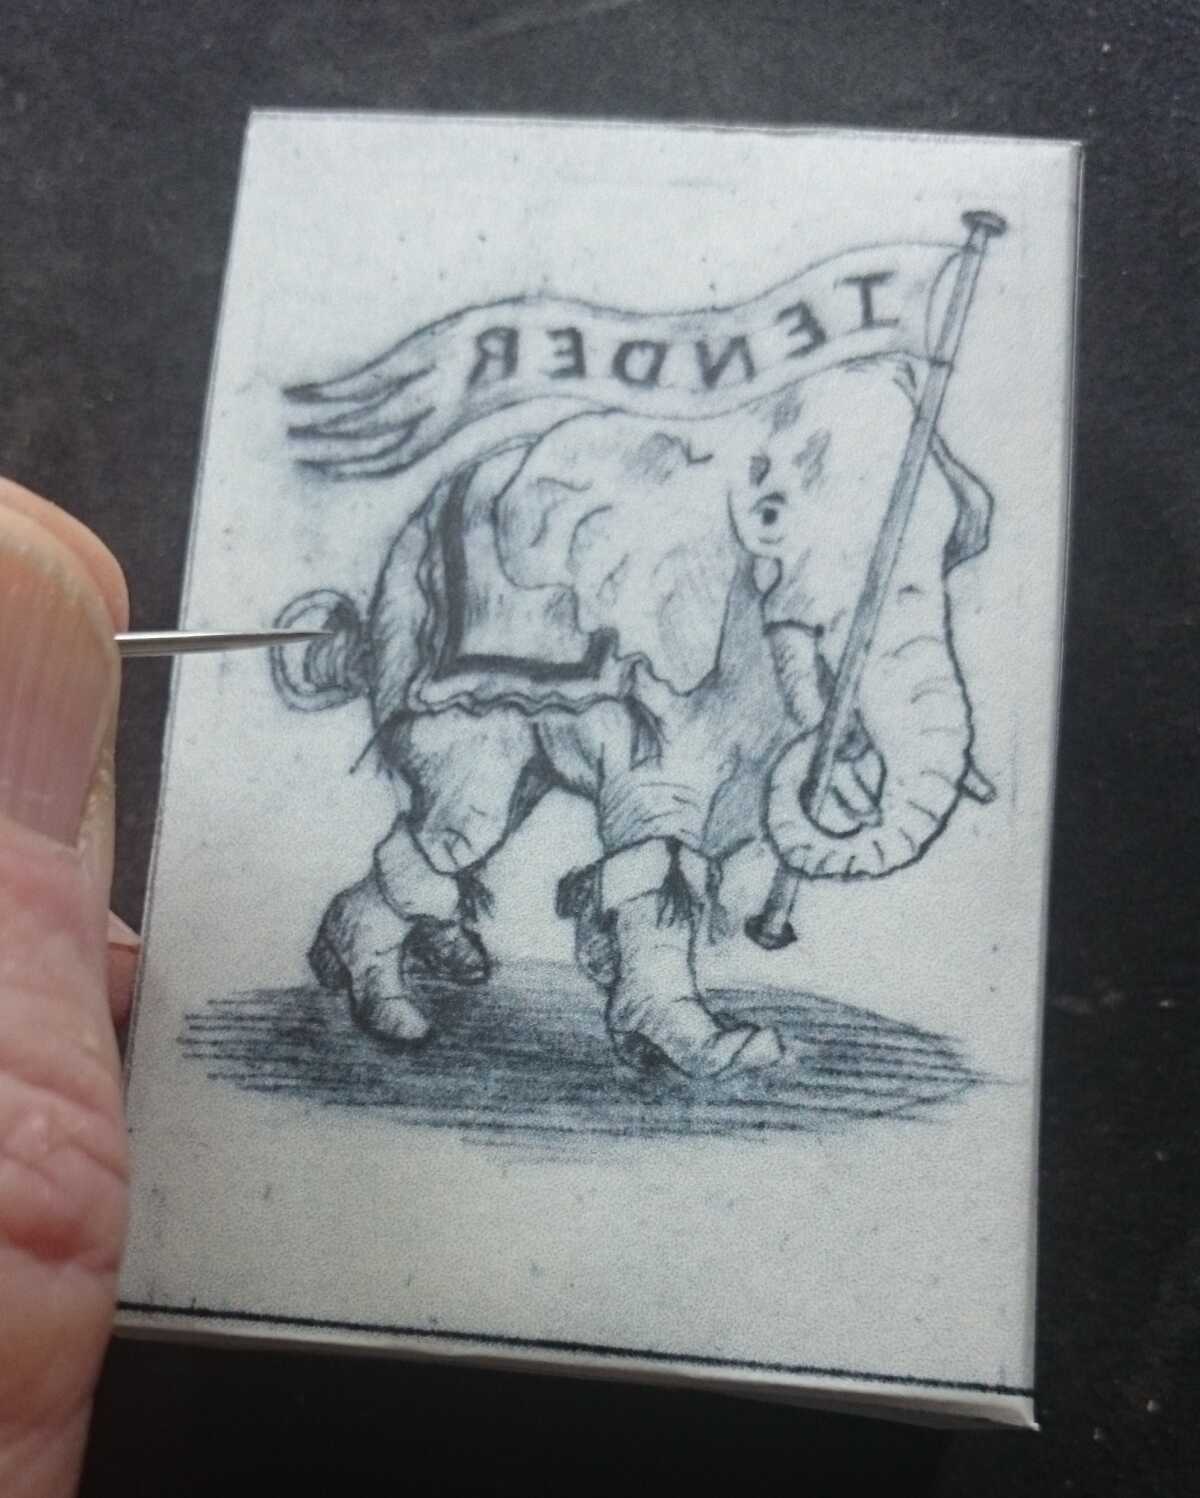
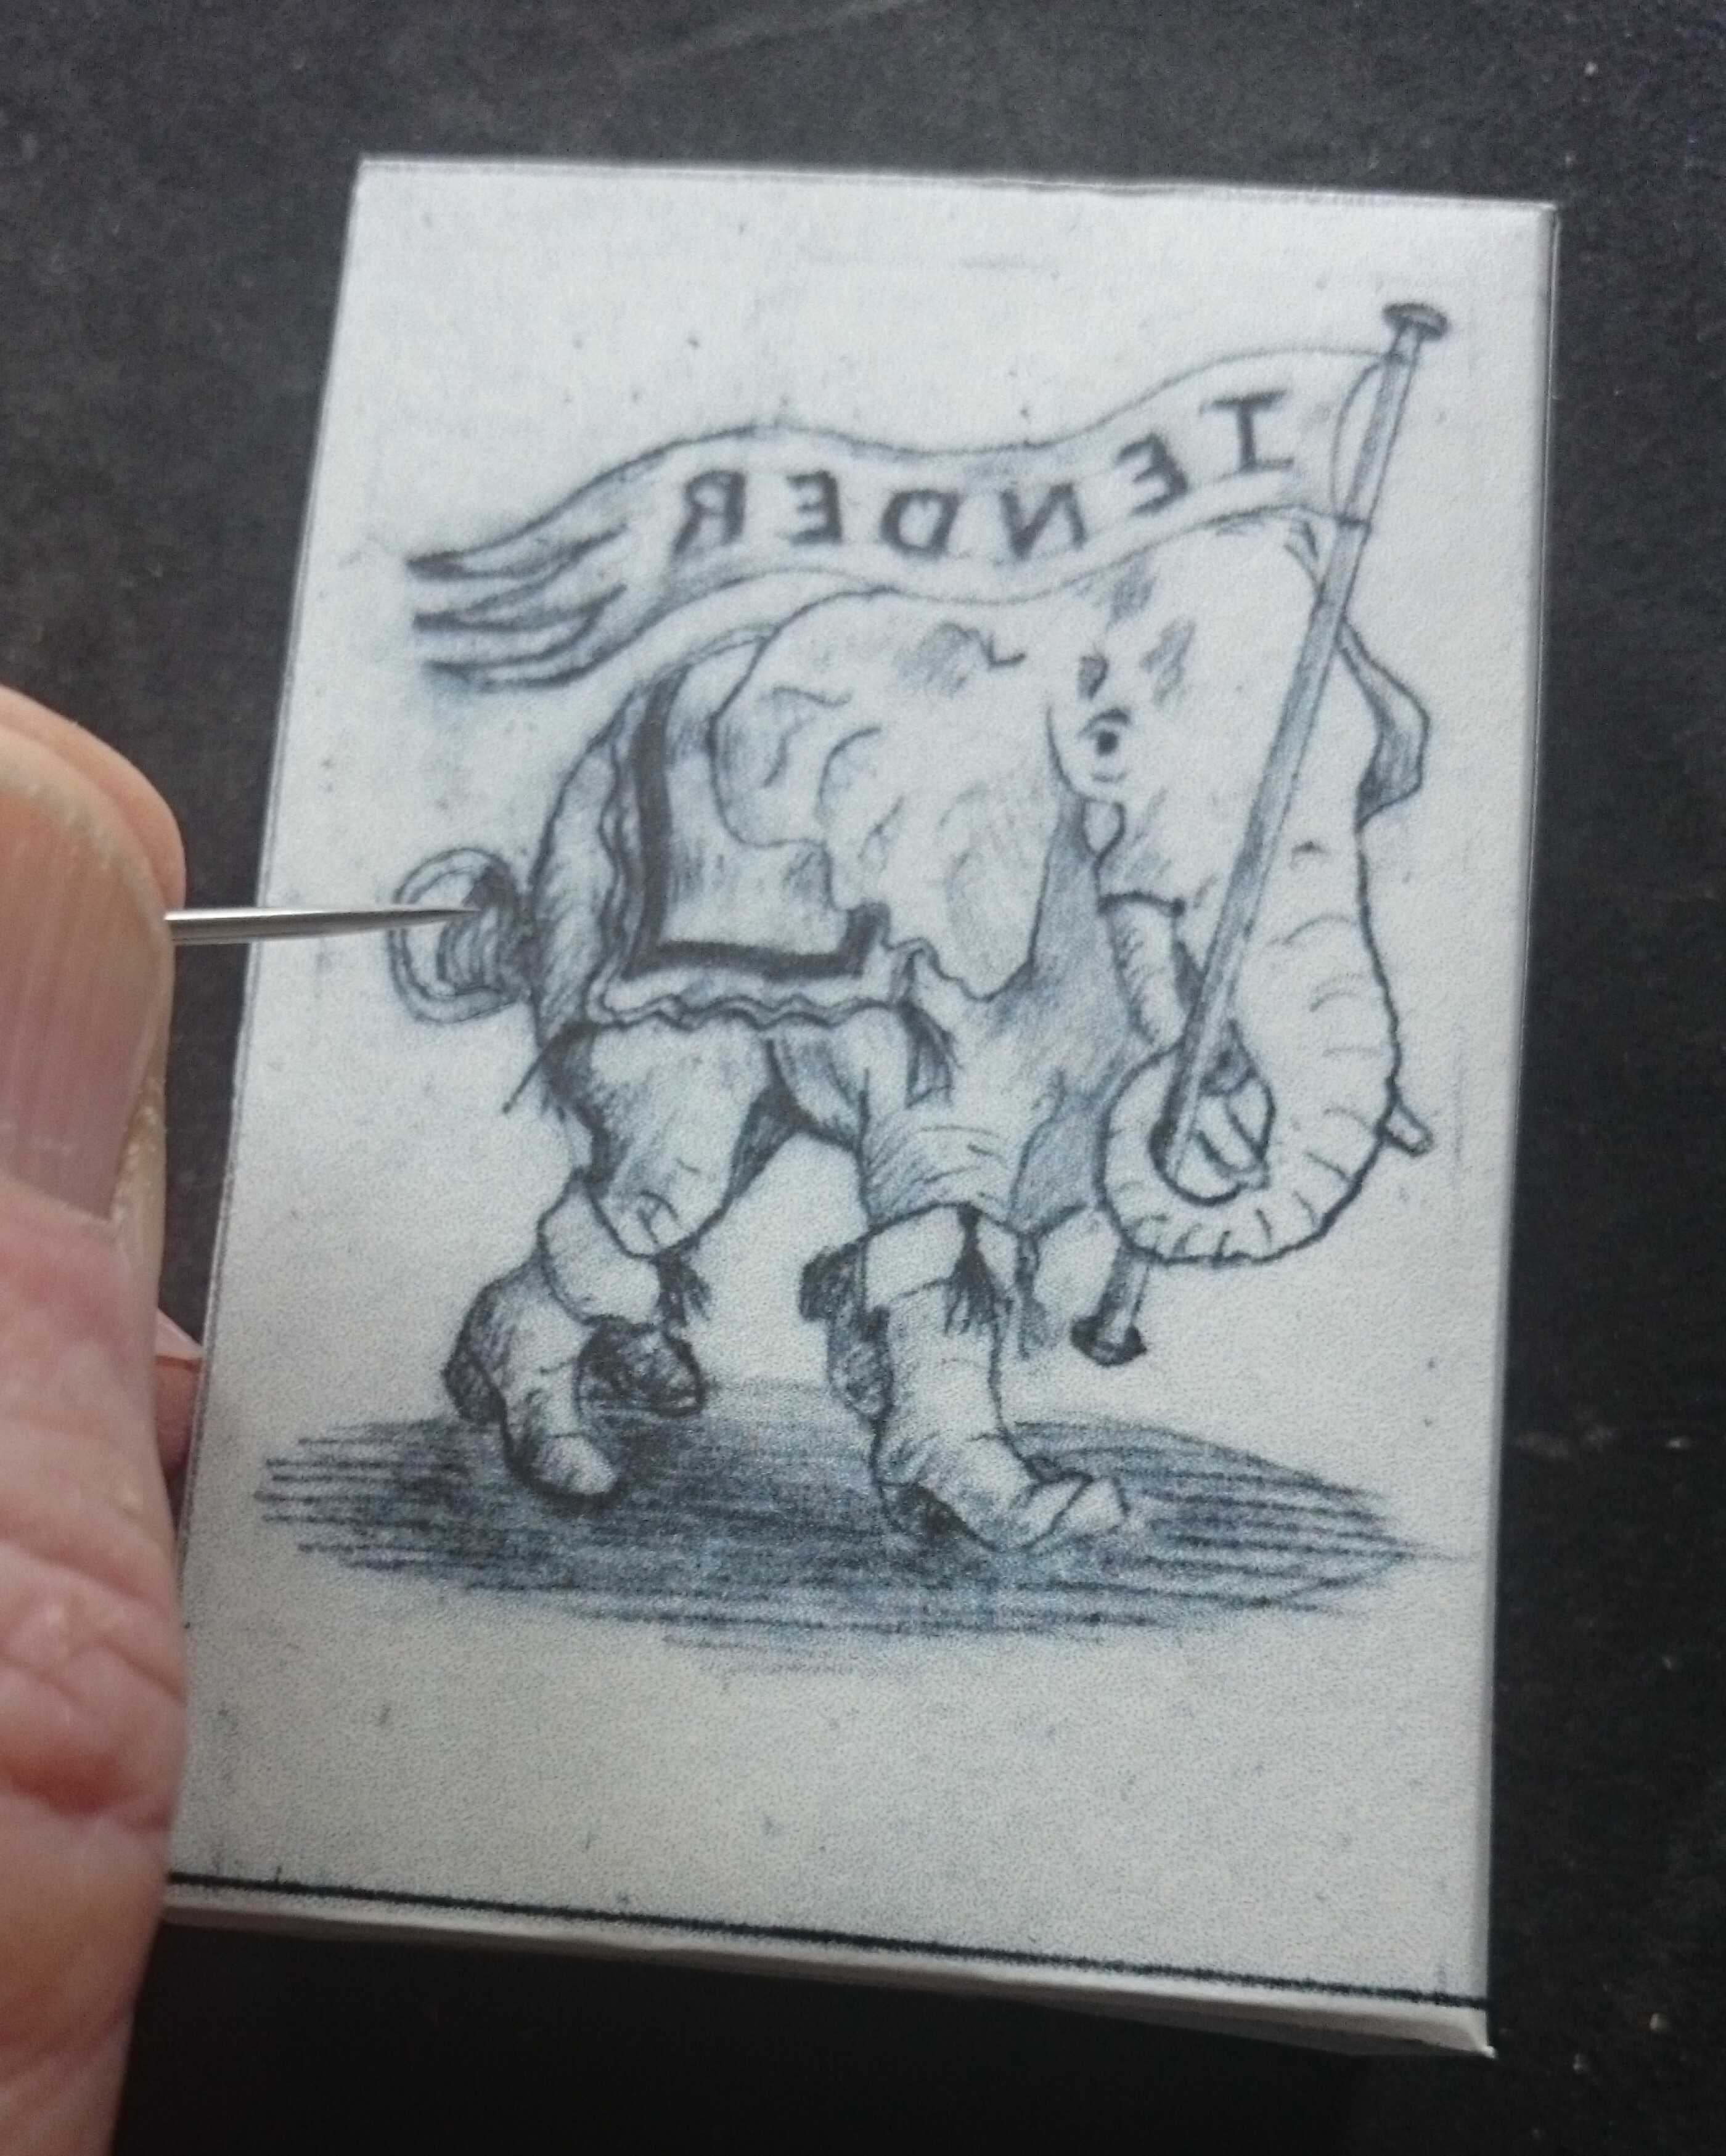
Carefully lay you paper on the block and take great care not to move the paper once on the block. This is best achieved by pressing down on the centre of the block with a finger. Take your burnisher and firmly rub the paper moving slowly across the block, taking extra care at the edges where there is a tendency to slip and tear the paper. Because the paper is either transparent or semi transparent the engraved image will emerge through the paper allowing you to see areas that you have missed or that need extra burnishing. When you are satisfied that burnishing is complete, slowly lift the paper from one corner until detached from the block.
Always clean the roller and slab after printing, using either white spirit, lighter fuel, pure turpentine or vegetable oil.
Printing with a platen press is the method favoured by engravers fortunate enough to have a cast iron press such an Albion or Columbian. It is beyond the scope of this site to cover this subject, but there are many books available to give guidance, one of the best modern books being Simon Brett’s How To Engrave.